How Do You Attach A Belt Buckle?
How Do You Attach A Belt Buckle?
Attaching a belt buckle may seem like a simple task, but it can sometimes be tricky, especially if you’re not familiar with the components involved. Whether you’re looking to replace an old buckle or are simply trying to assemble a new belt, knowing the proper technique is essential. This guide will walk you through the process step by step, ensuring that you can confidently attach a belt buckle in no time!
Understanding the Components
Before diving into the instructions, it’s important to understand the parts of a belt buckle. Typically, a belt buckle consists of:
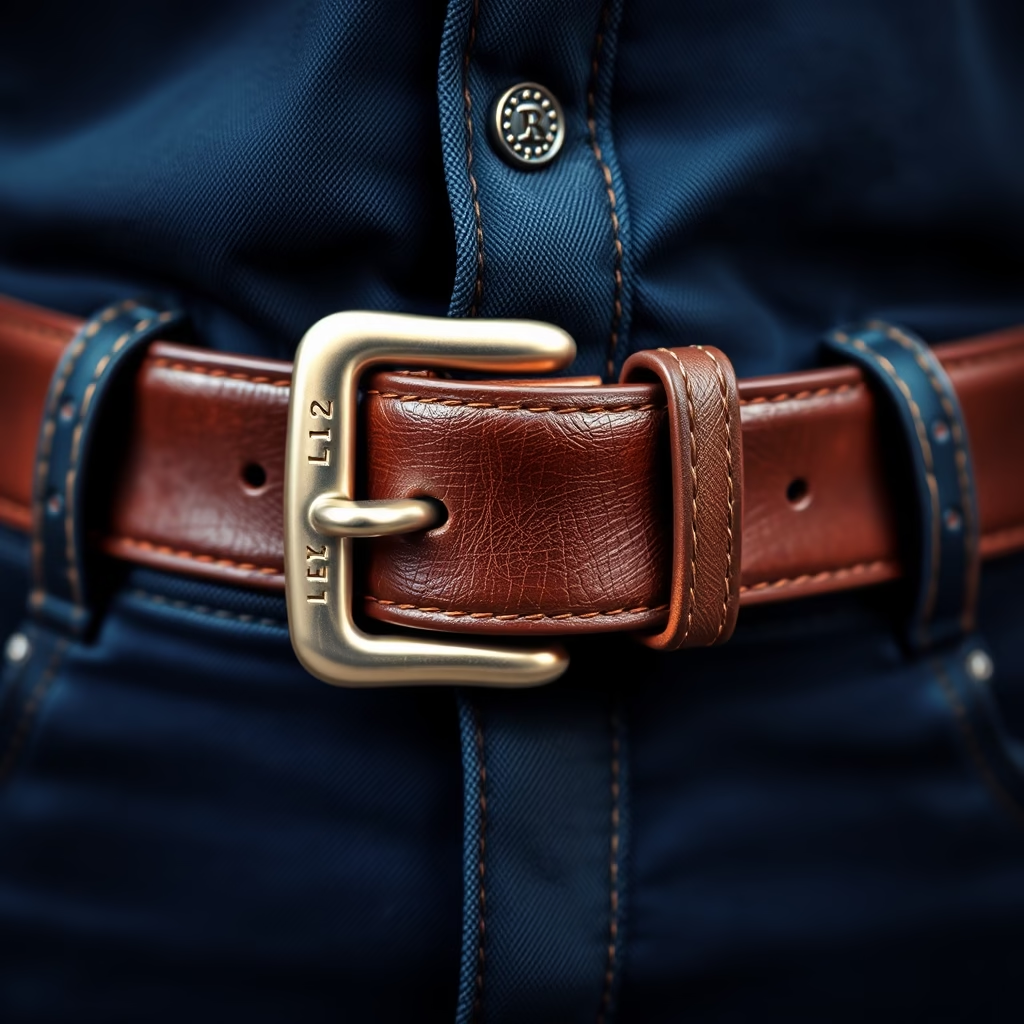
- The Buckle Frame: The main body that holds the belt in place.
- The Prong: The piece that goes through the belt holes to secure it.
- The Keeper: A small loop that helps to hold the belt end in place.
- The Leather Belt Strap: The part that goes around your waist.
Preparing Your Materials
To attach your belt buckle, you will need the following materials:
- Your chosen belt buckle.
- A belt strap (leather or fabric).
- Scissors (if cutting the strap).
- A hole punch (if necessary).
- Measuring tape.
Steps to Attach a Belt Buckle
Now that you have all the necessary materials, follow these steps to attach your belt buckle:
- Measure Your Belt Strap: Start by measuring the length of your belt strap to ensure it fits your waist. Cut it if it’s too long.
- Mark Where You Need Holes: For adjustable belts, place the buckle on the strap and decide where to mark the holes. You should have enough holes to allow for size adjustments.
- Punch Holes (if needed): If your belt strap doesn’t have any holes, use a hole punch to create them. Ensure the holes are evenly spaced.
- Attach the Buckle Frame: Slide the end of the strap through the buckle frame. Ensure the prong is facing the correct direction (usually protruding towards the front).
- Secure the Prong: Insert the prong through the hole that corresponds to your desired fit. Ensure it is tightly secured in place.
- Add the Keeper: If your buckle has a keeper, slide this onto the strap after the prong is secured. This will help hold the belt end in place when worn.
- Test the Fit: Buckle the belt around your waist and make adjustments as necessary to ensure comfort and security.
Common Mistakes to Avoid
While attaching a belt buckle may seem straightforward, here are some common mistakes to avoid:
- Not Measuring Properly: Failing to measure can lead to a belt that is too loose or too tight.
- Forgetting Holes: Missing out on creating holes can render your belt unusable.
- Incorrect Prong Placement: Misplacing the prong can lead to a belt that won’t hold its position.
Conclusion
Now you know how to attach a belt buckle with ease! Following these steps will not only boost your confidence but also save you time and money on professional alterations. Whether you’re fashioning a new look or simply repairing an old favorite, mastering this all-important skill opens up a world of opportunities for self-expression through style!