How Do You Test An Ignition Control Module?
How Do You Test An Ignition Control Module?
The ignition control module (ICM) plays a critical role in the ignition system of vehicles. It controls the timing and flow of electrical signals that spark the ignition coil, ultimately leading to combustion in the engine. When your vehicle exhibits symptoms like misfires, difficulty starting, or stalling, the ignition control module may be at fault. In this guide, we will explore how you can effectively test this vital component.
Understanding the Ignition Control Module
Before delving into testing procedures, it’s important to understand what an ignition control module is and how it functions. The ICM is responsible for:
- Activating the ignition coil
- Controlling the spark timing
- Receiving signals from the crankshaft position sensor
When the ICM malfunctions, the engine may not start or run smoothly. Thus, testing this module can save you time and money in troubleshooting vehicle issues.
Symptoms of a Faulty Ignition Control Module
The following symptoms may indicate that your ignition control module is failing:
- Engine misfiring or running rough
- Difficulty starting the engine
- Stalling while driving
- Decreased acceleration
- Check engine light illuminated
Tools Needed for Testing
To test an ignition control module, you’ll require some basic tools:
- Multimeter
- Wrench set
- Socket set
- Wire brush (for cleaning connections)
Step-by-Step Guide to Testing an Ignition Control Module
Once you have the necessary tools, follow these steps to test the ignition control module:
1. Safety First
Before starting, ensure the vehicle is parked on a level surface, and the ignition is turned off. Disconnect the battery to avoid any electrical shocks.
2. Locate the Ignition Control Module
The ICM is typically located on or near the ignition coil, often mounted on the engine or firewall. Refer to your vehicle’s manual for specific locations.
3. Inspect for Physical Damage
Look for any signs of physical damage, such as cracks, melted connectors, or corrosion. Clean any corrosion from connections using a wire brush.
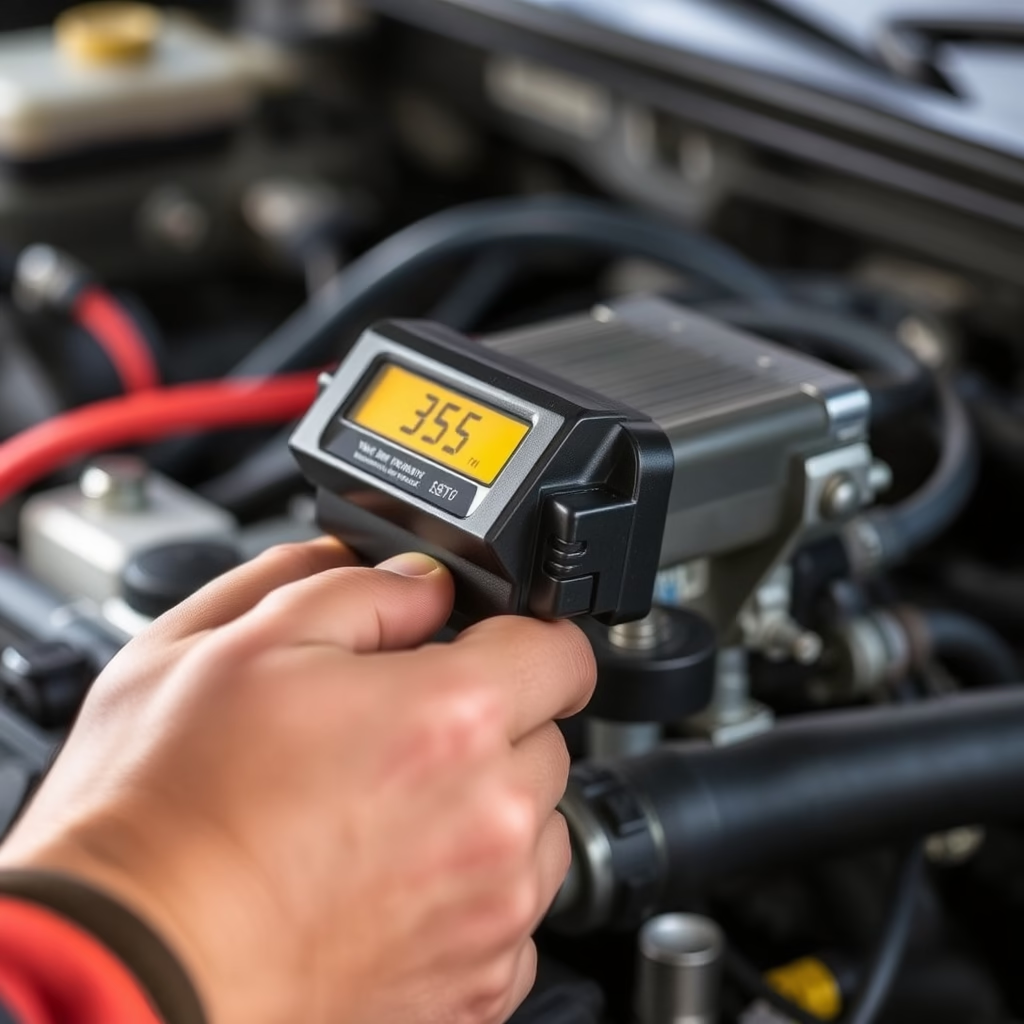
4. Test Using a Multimeter
Next, set your multimeter to the resistance mode:
- Check the resistance across the terminals of the ICM. Consult your vehicle’s service manual for the recommended resistance values.
- For further testing, attach the multimeter leads to the input terminals and observe any irregularities when the engine is cranked.
5. Check the Signal Stream
If the ICM passes the resistance test, you should check for signal output:
- Reconnect the battery and turn the ignition key to the “ON” position without starting the vehicle.
- Using the multimeter, check the output voltage at the ICM.
Again, refer to your vehicle’s manual for the expected voltage range.
6. Replace If Necessary
If your tests reveal that the ignition control module is malfunctioning, it’s time to replace it. Make sure to use a compatible part to ensure optimal performance.
Conclusion
Testing your ignition control module is an essential step in diagnosing vehicle ignition issues. By following the steps mentioned above, you can save time and potentially avoid expensive repairs. Remember to adhere to safety precautions and consult your vehicle’s service manual for specific guidelines.
Understanding how to test your ignition control module not only empowers you as a vehicle owner but also leads you one step closer to resolving your engine troubles. Whether you’re a seasoned mechanic or a car enthusiast, these skills are incredibly valuable.